Deploy Presto with Homebrew
This guide explains how to install and get started with Presto on macOS, Linux or WSL2 using the Homebrew package manager.
Prerequisites
Homebrew installed.
Install Presto
Run the following command to install the latest version of Presto using the Homebrew Formulae:
brew install prestodb
Homebrew installs packages in the Cellar directory, which can be found with this command:
brew --cellar
The directory $(brew --cellar)/prestodb/<version>/libexec contains the Presto files used to run and configure the service.
For example, the etc directory within the Presto installation contains the following default configuration files:
node.properties
jvm.config
config.properties
log.properties
catalog/jmx.properties
Start and Stop Presto
Presto is installed with the presto-server helper script, which simplifies managing the cluster.
For example, run the following command to start the Presto service in the foreground:
presto-server run
To stop Presto from running in the foreground, press Ctrl + C until the terminal prompt appears, or close the terminal.
For more available commands and options, use help:
presto-server --help
Open the Presto Console
After starting the service, Presto Console can be accessible at the default port 8080 using the following link in a browser:
http://localhost:8080
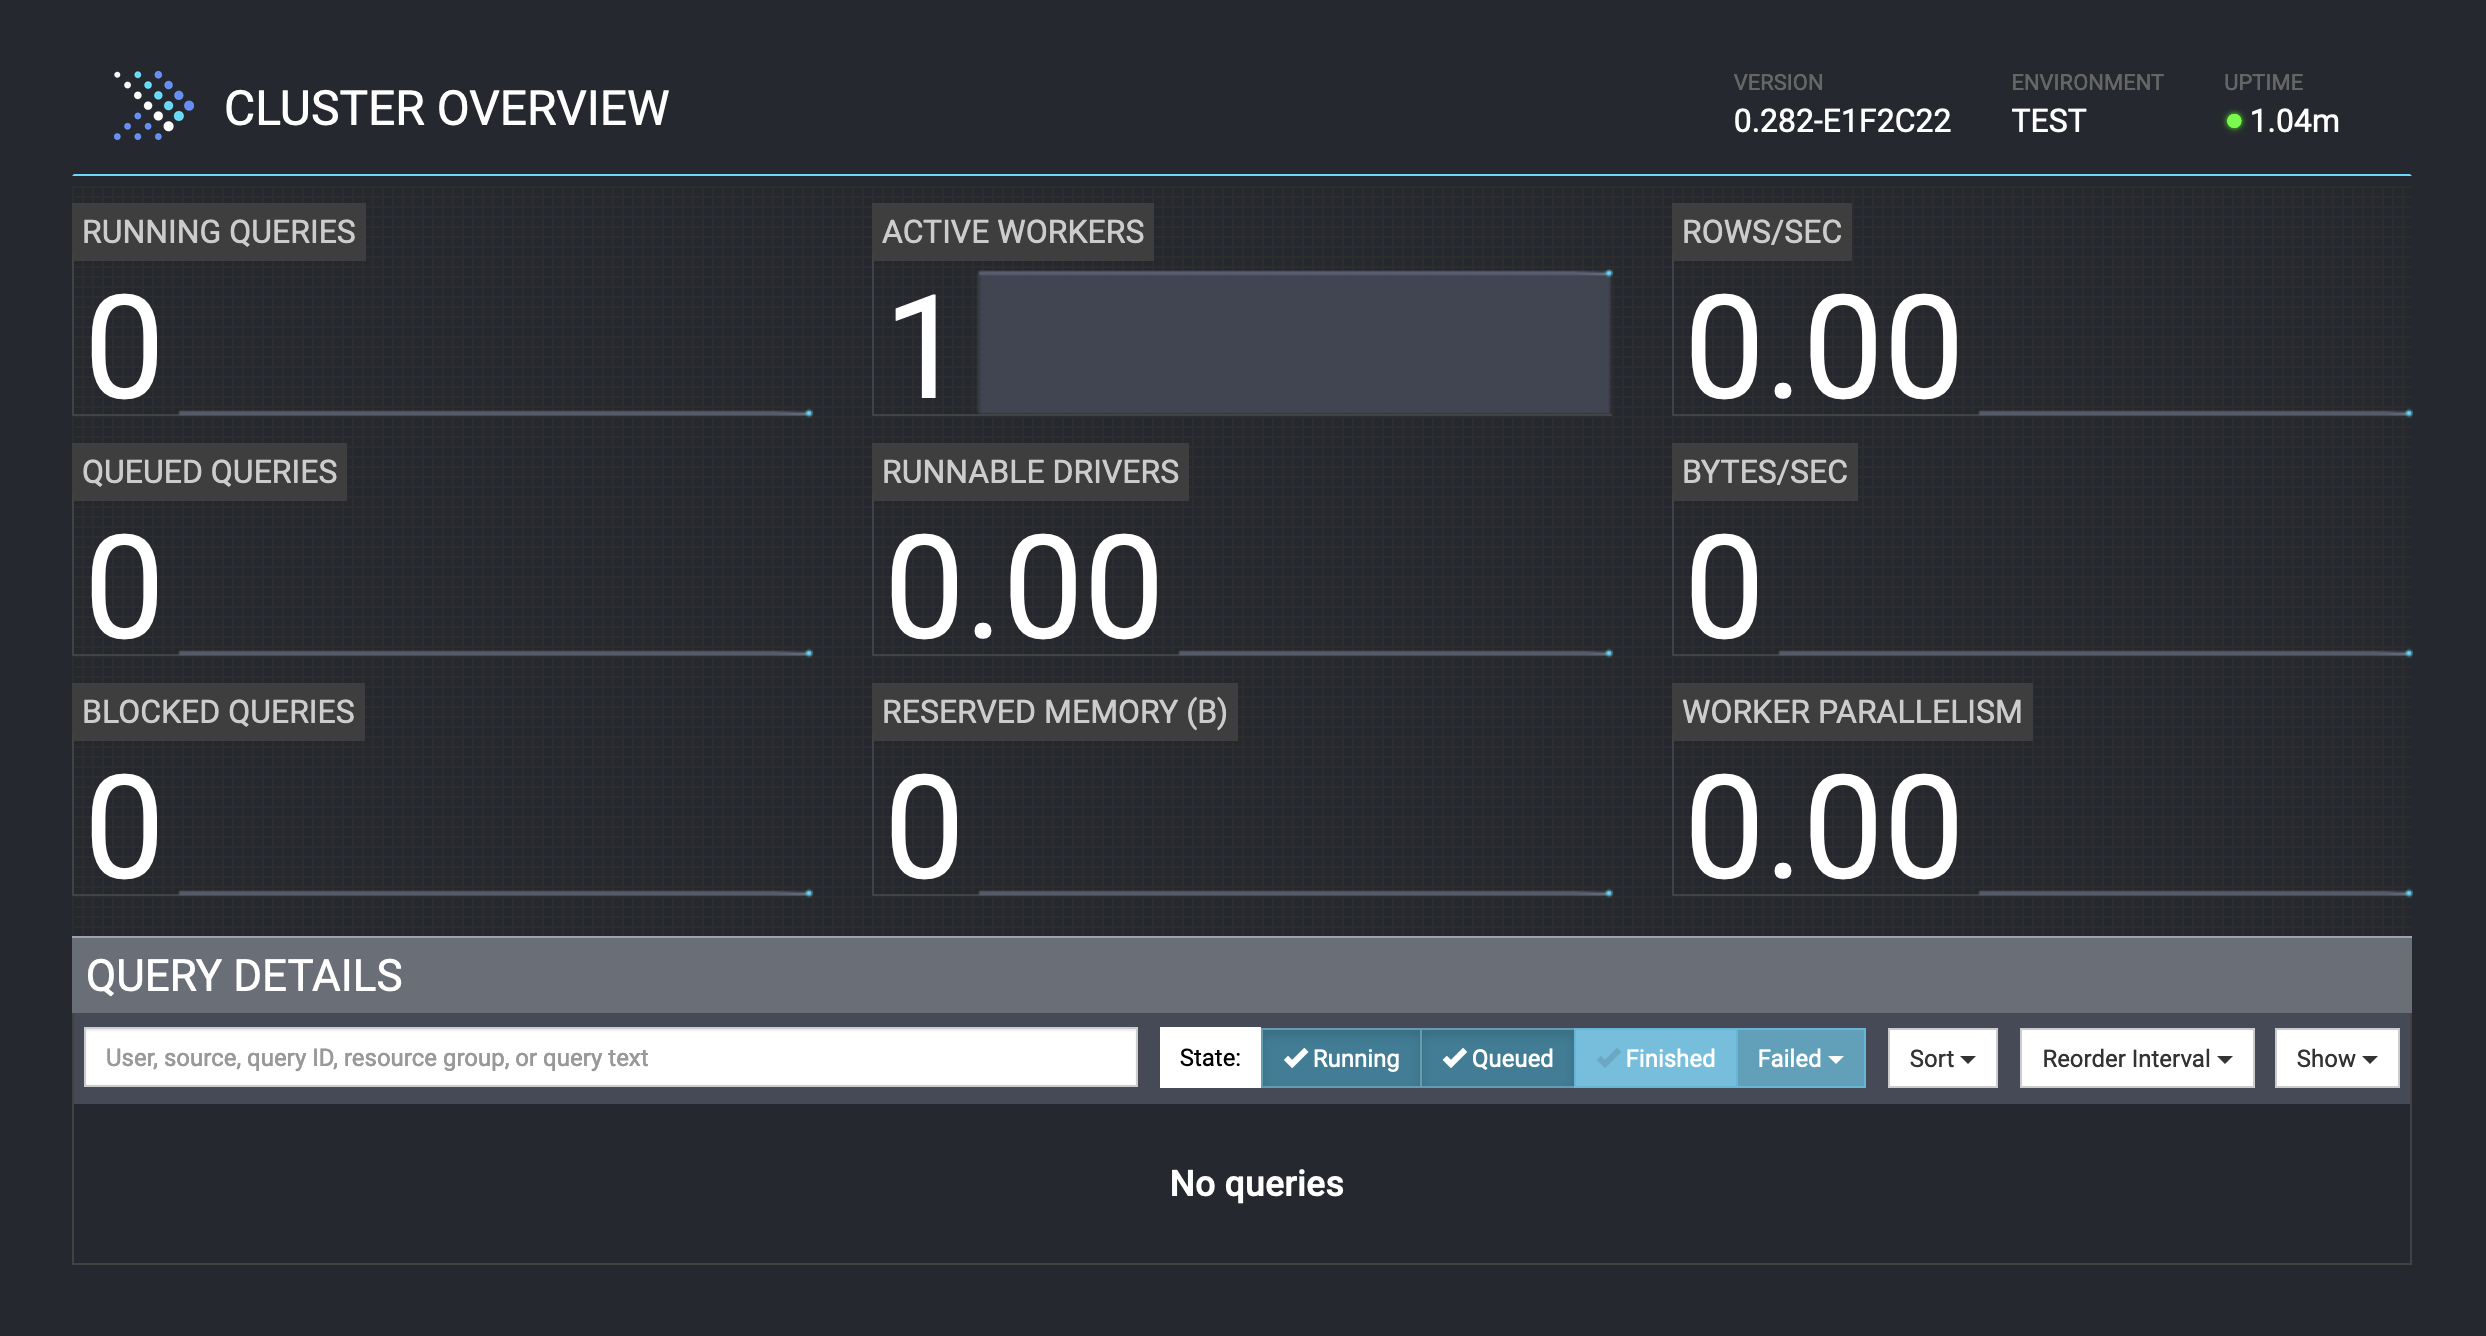
For more information about the Presto Console, see Presto Console.
Start the Presto CLI
The Presto CLI is a terminal-based interactive shell for running queries, and is a self-executing JAR file that acts like a normal UNIX executable.
The Presto CLI is installed in the directory $(brew --cellar)/prestodb/<version>/bin.
To run the Presto CLI, use the following command:
presto
The Presto CLI starts and displays its prompt:
presto>
For more information, see Presto CLI.